Main Structure:
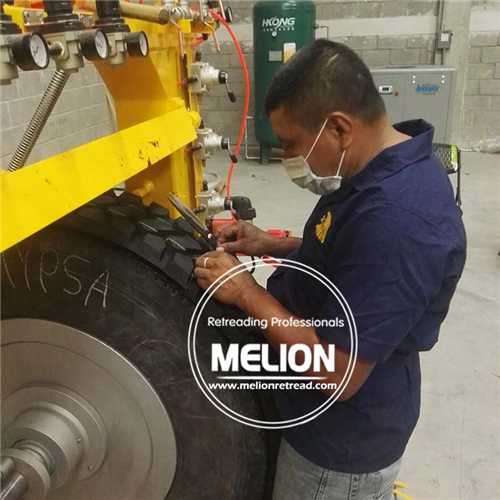
This equipment mainly consists of Frame, Tread Press Motor, Tire Ejecting Motor, Air Cylinders, Pneumatic Components, Vacuum Chuck Plate and Electric Control Panel.
Commissioning
Before commissioning, please read the instruction carefully. According to the nominal parameters, check all the parts. Ensure that the Motor is correctly wired, the airway is properly connected and the parts that needed to be lubricated are lubricated with proper lubrication oil or grease.
1 First of all, adjust the pressure of the Inflation Chuck Plate . Ensure the tire inflation pressure in the range of 0.1~0.5Mpa and when exceeding 0.2Mpa, Safety Air Bleeding Valve will be activated to bleed the excessive pressure out in order to protect all the parts from being damaged by high pressure.
2 Adjust the screw nut gap on Rear Press Wheel, according to the Tire Center Positioning. When the Ejecting Wheel ejects out and spread apart, the two wheels shall be pressed on both sides of the Shoulder without deviation. Then adjust the Left-to-Right Limit Switch to the specified range of limit in order not to damage the Limit Control Motor.
3 Adjustment of Pneumatic components: This machine has Pneumatic Pressure Regulating Valve and Pneumatic Velocity Regulating Valve. According to the nominal parameters, set the Press Cylinder Pressure 0.35Mpa, Rear Pressing Wheel Cylinder 0.3Mpa and other Air Cylinders 0.6MPa, then lock the Bolts.
Mass Production (Operation Regulations):
1 After applying Cushion Gum, put the Carcass onto the Chuck Plate of the Building Machine. According to the size of the tire, choose different size of Ejecting Rod and corresponding Scale value (Technical parameters based on the data on the marking). Then inflate up to 0.1~0.5Mpa (If any local leakage occurs, turn on low speed inflation switch). When pressure reaches that value, the high speed inflation switch shall be turned off. After being pressed down by the Top Roller for 30 seconds, lift the Top Roller; and then peel off the protection film on the Flap and check if any air leakage occurs. If air leakage detected, then the tire shall be unloaded and the damaged area shall be grinded and glued with Flat.
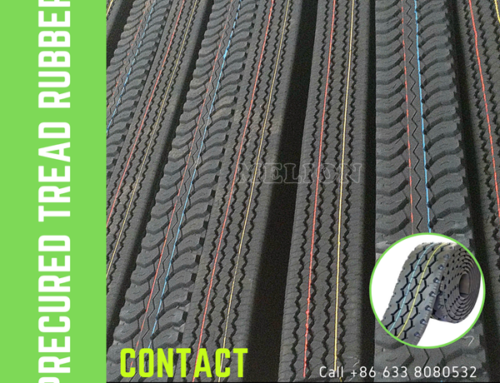
2 Apply Adhesive Plasma onto the New Tread, and then place the new tread onto the Crown (The Crown shall be bound with Cushion Gum in advance). Then jog the switch with one foot and gradually coordinate the pattern on both sides symmetrical. When finishing this, cut the excessive tread off and buffer the ends of the tread. Then apply adhesive plasma on both ends. When the plasma is dry, press both end together. Then press the tire with Top Roller. Then switch on the Rear Ejecting Wheel for crucial press and air squeeze. Bind the Tread completely together with the Crown and squeeze the air in-between out. The Pressing Wheel (Driven by the Lead Screw Motor) will then start to press from the middle to the Shoulders. After finishing this movement, retrieve the Ejecting Wheel and lift up the Roller and bind the tread seam with special staples. Then release the air out of the tire and unload it. Meanwhile, the Lead Screw of the Rear Pressing Wheel stops running and bring the wheels to the center position for next press.


